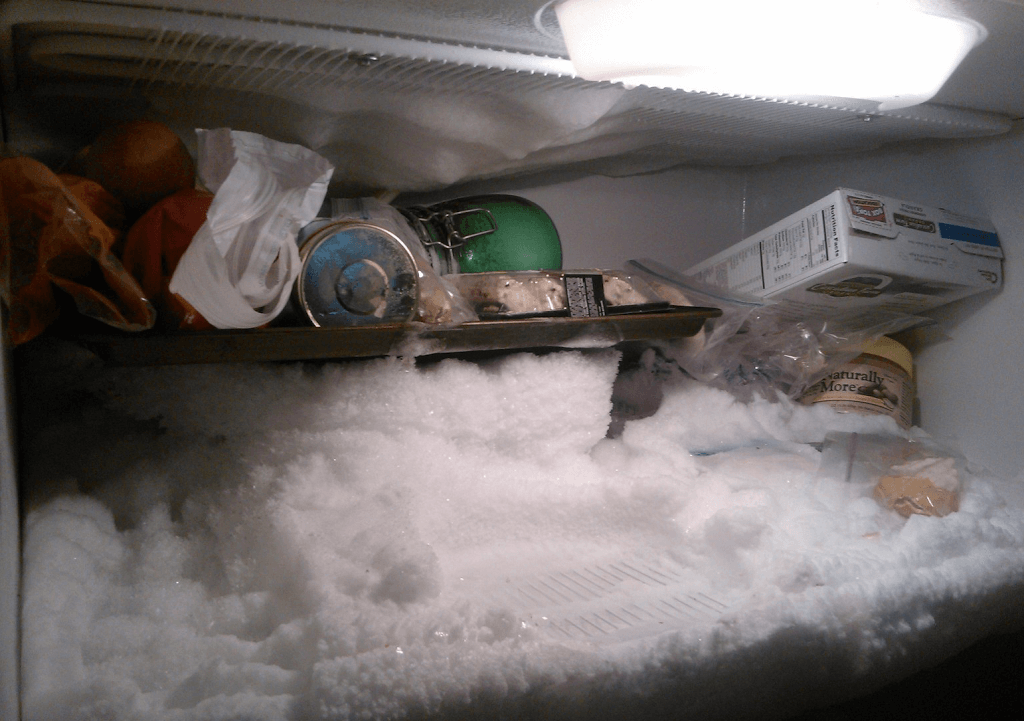
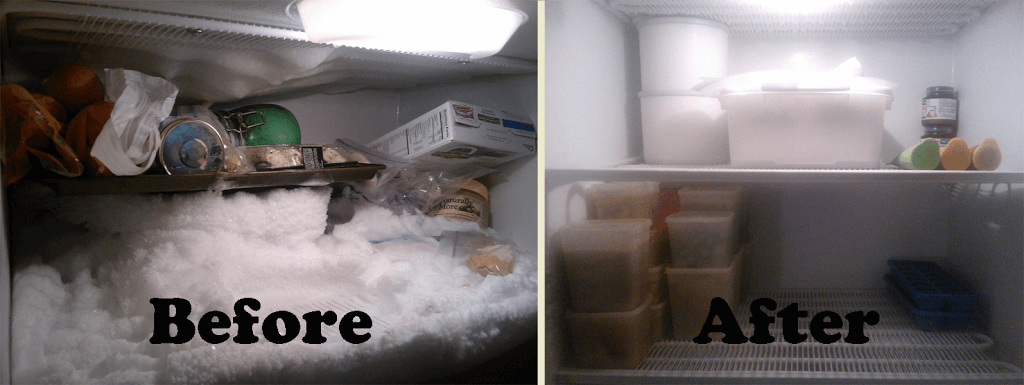
Do you remember the planet of Hoth from the original Star Wars movies? Covered in ice and funny looking llamas? That’s what my freezer has looked like lately.
The bagged green beans from 2 years ago are glued to the back wall. The soup containers are so buried in ice there’s no moving them, and I don’t even know what’s in the reused yogurt containers.
Not only is it a mess, hard to store items and even harder to remove them, it’s wasteful. I’m not sure what is in there, I can’t get to it, and in the meantime it’s getting freezer burn and ends up in the garbage.

Take everything out of the freezer and transfer to another one. Or, if it’s cold enough, put them in boxes outside. You could also store the items in coolers. If you’re defrosting a small freezer that’s part of a fridge you can leave the food in the fridge, just don’t open the fridge door. I would however remove highly perishable items like raw milk.
Unplug the freezer and leave the door open.
Some large freezers have a drain plug at the bottom, but this needs to be hooked up to the plumbing for it to be useful.
I put two large, lipped baking sheets on the very bottom of the freezer and two towels against the base of the freezer on the floor. My husband also added a few pots on the bottom shelf to catch the larger ice chunks.
![]() Speed Things Up or Wait it Out
Speed Things Up or Wait it Out
You can use a hair dryer or squirt hot water onto the ice to make it melt faster, but the downside of this is that you’re standing there with a hairdryer for 30 minutes. I found it easier to leave the door open all day and come back to it after the ice had mostly melted on its own. Be sure to periodically check the pans/trays and empty them if you have a lot of ice built up.
Once the ice has melted some and is generally softer, use a metal spatula to scrape off the ice chunks and speed up the process.
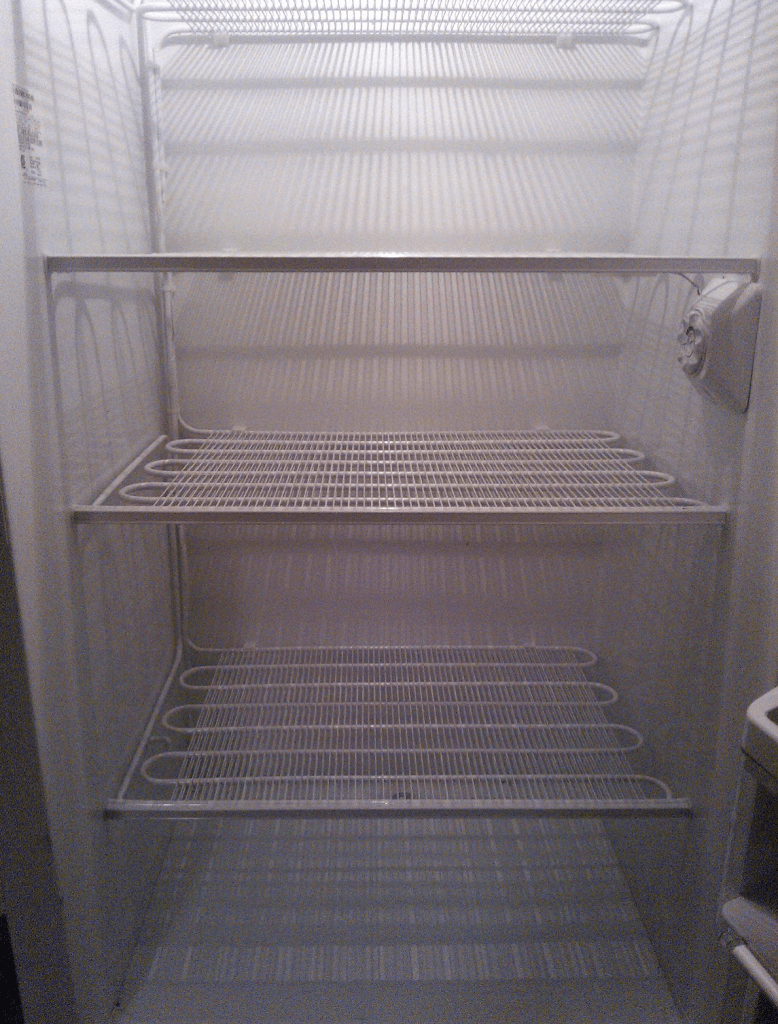
Use a clean kitchen towel to wipe down any leftover tiny bits of ice and moisture from the shelves and bottom of the freezer. Using your now damp towel, wipe down the sides of the freezer and any shelving in the door.
As you put everything back in the freezer (or as you’re taking it out) write down each item, no matter how small, on a list. I’ve created a free printable freezer inventory that you can use via the links at the end of the post. Once you know what’s in there, it’s easier to utilize it instead of waste it. Items that are freezer burnt or beyond identifying should be thrown out.
 Organize it
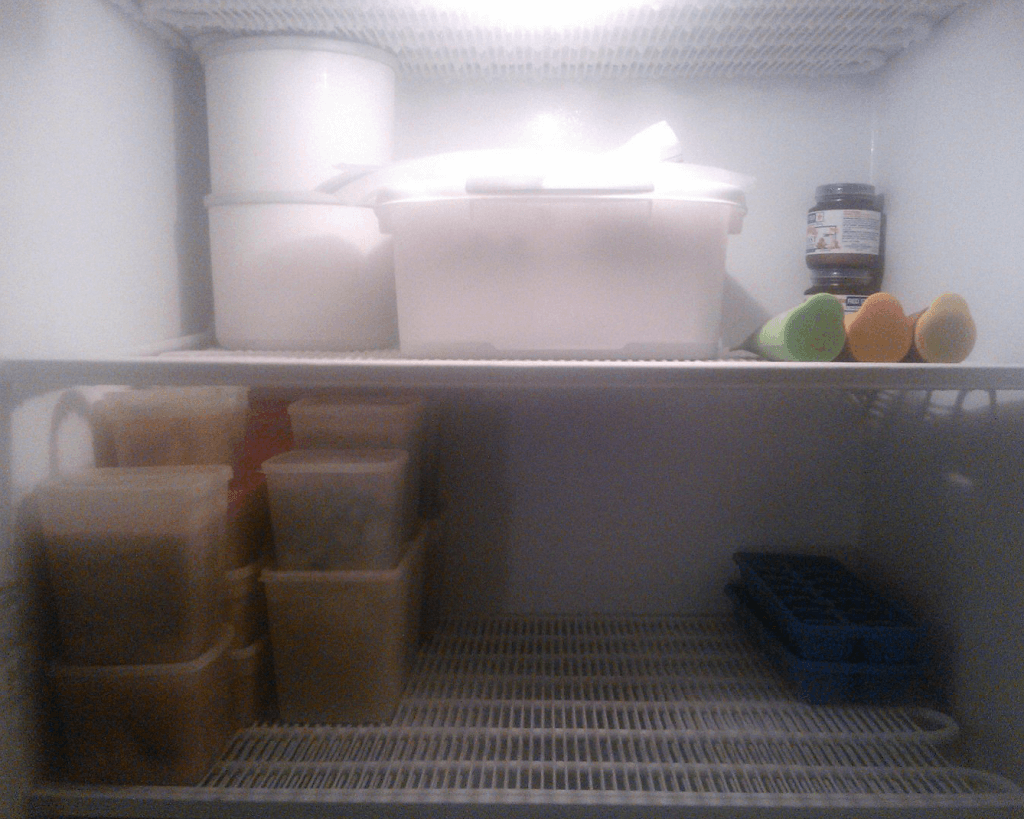
As you put things back in, be mindful of where they go. Put like items together. Use labeled bins to store smaller items to avoid them getting buried. If you’re consistently only using a partial bag of frozen fruit or veggies at a time, dedicate a bin to the half full bags. Use labels on storage containers to easily identify the contents. Certain items like soup, veggies, beans and rice can be frozen flat into freezer bags and then stored upright like books.
Tip* – To help prevent future freezer frost, avoid putting warm or hot items in the freezer. This creates condensation that can cause ice build up. Also, don’t leave the door open for any longer than absolutely necessary and be sure to only put dry containers in the freezer.
Freezer Inventory Printable
Blank Freezer Inventory Printable
– Use the blank one to write your own categories, or choose one with categories already filled in. Fill this in with pencil, or place in a clear sheet protector and use a wet erase marker for easy changes.