Don’t you just wish you could open the cupboard and pull out a fresh scone, mess and hassle free?
I sure do! Unless the scone fairy stops by your kitchen though, you’re stuck making them, and other meal items the old fashioned way.
There is however an easier way to have homemade meals and baked goods with no mess and no fuss. Whenever I make baked goods and even certain meal items I double or even triple the amount I’m making and freeze the rest for later.
So make pancakes Saturday morning, freeze the extra and eat them the next Wednesday! You don’t have to set aside a special day to premake all your items for the week. If you simply double and triple your recipes, you spend just a few minutes of extra time and save hours later.
Before I go to bed I’ll grab a few scones from the freezer.
By breakfast they’re ready to throw in the oven for warm flaky deliciousness.
There is a trick to it though. Certain items need to be preshaped or even cooked before being tossed into the freezer. Below is a list of items I typically make extra of for later and how to store. Be sure to label and date all of your items!
Biscuits, Scones & Cookies
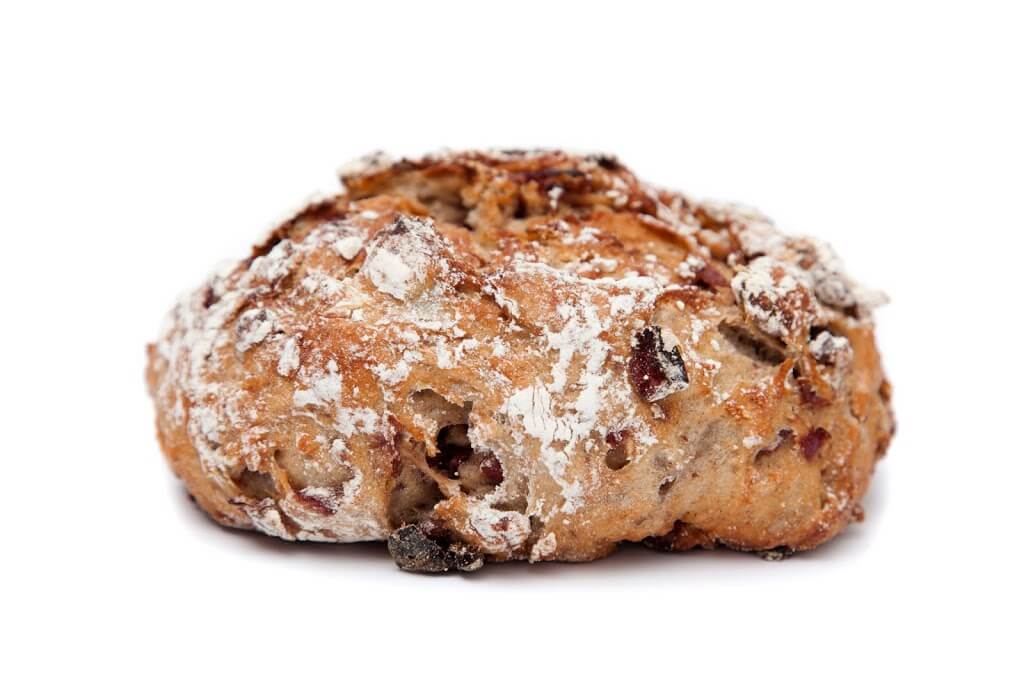
- Double or triple your recipe. You may need to make each batch in a separate bowl for space’s sake.
- Shape scones into 6-8 inch rounds and cut into 6-8 wedge shaped pieces.
- For biscuits and cookies cut out the dough or shape as usual.
- Place pieces about 1 inch away from each other on a parchment lined cookie sheet and freeze for about 1 hour.
- Place frozen dough in a freezer safe plastic bag for later.
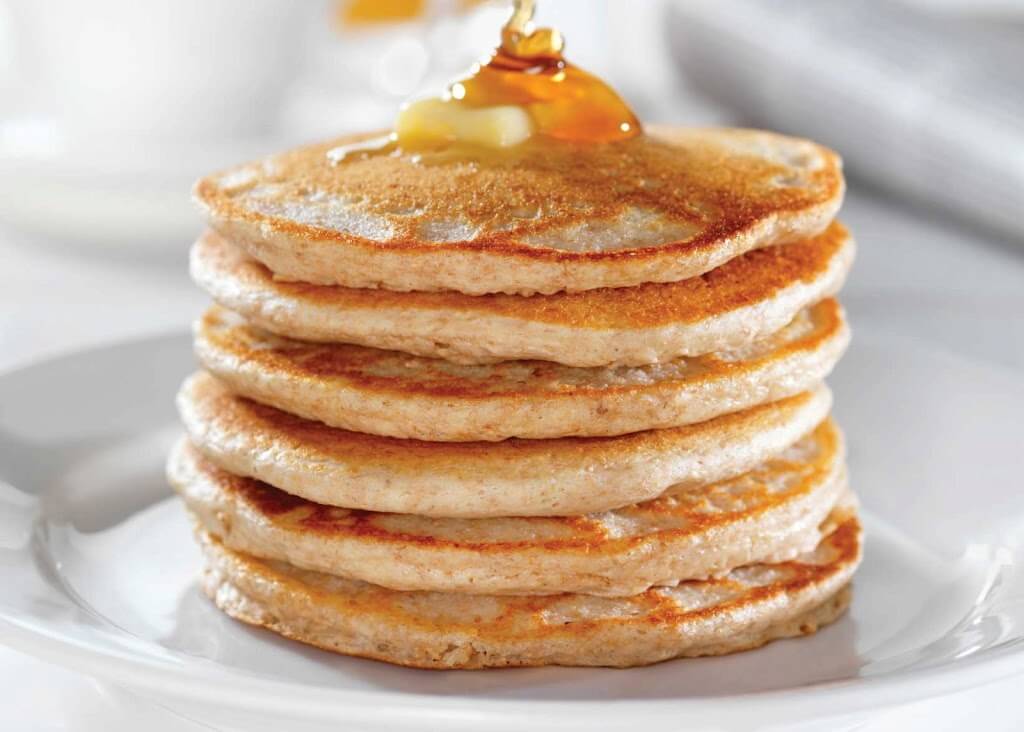
Pancakes
- Lightly cook pancakes, enough so that they are fully cooked but still very light in color.
- Lay flat in a large freezer bag and freeze until firm, about 1 hour. Stack the frozen bag wherever you need to squeeze it into your freezer
- When ready to serve, gently warm both sides of the frozen pancakes until golden brown.
Pizza
- Option 1: Make dough as usual, place dough ball in freezer safe plastic bag and leave in freezer until ready to use.
- When ready to use, remove from freezer bag and place in a large, greased bowl to thaw at room temperature.
- Let sit until dough has doubled in size.
- Bake as usual or punch down and let rise again. This depends on what your dough recipe says.
- Option 2: Make dough and let rise as usual (once or twice depending on the recipe).
- Shape dough and place on a parchment lined pizza pan.
- Freeze until firm, remove from pan and store in a large bag or wrap well in aluminum foil.
- When ready to use, let thaw at room temperature just until no longer frozen and bake immediately.
- I find it helpful to prebake these crusts before adding toppings. Cook for about half of the recommended cook time in your recipe, add toppings and finish cooking.

Rolls & Breadsticks
- Make dough as usual and let rise according to the recipe.
- Shape dough and place pieces apart on a parchment lined baking sheet.
- Freeze until firm and then store in a freezer safe bag.
- When ready to serve, let thaw at room temperature and bake immediately.
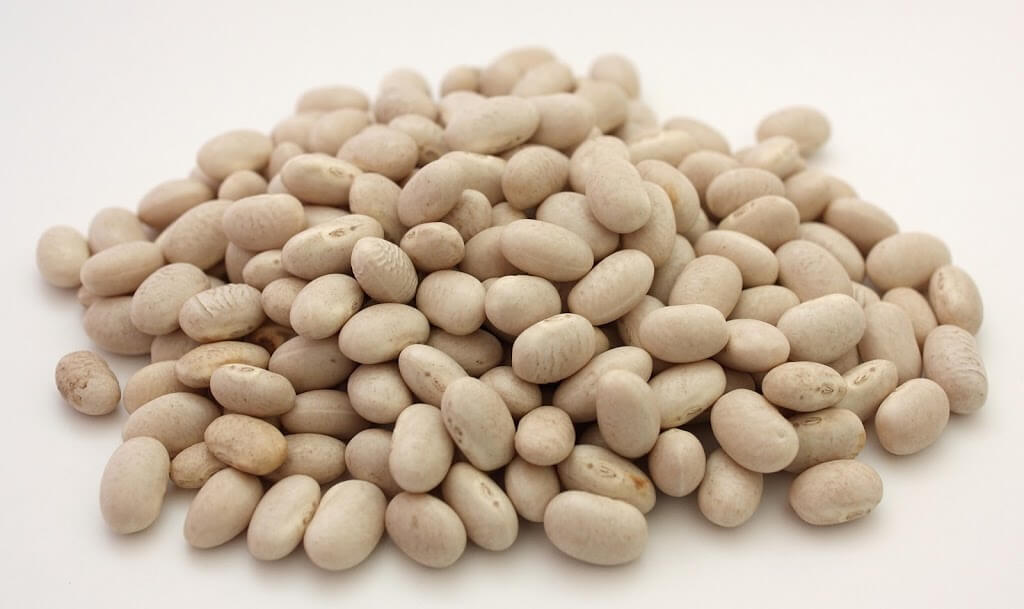 Beans
Beans

- Before work rinse, sort and clean beans. Let soak in hot water all day on the stove.
- You could even do an overnight soak then cook on low in the crockpot the next day. I haven’t done this though, so I’m not sure of the cooking times.
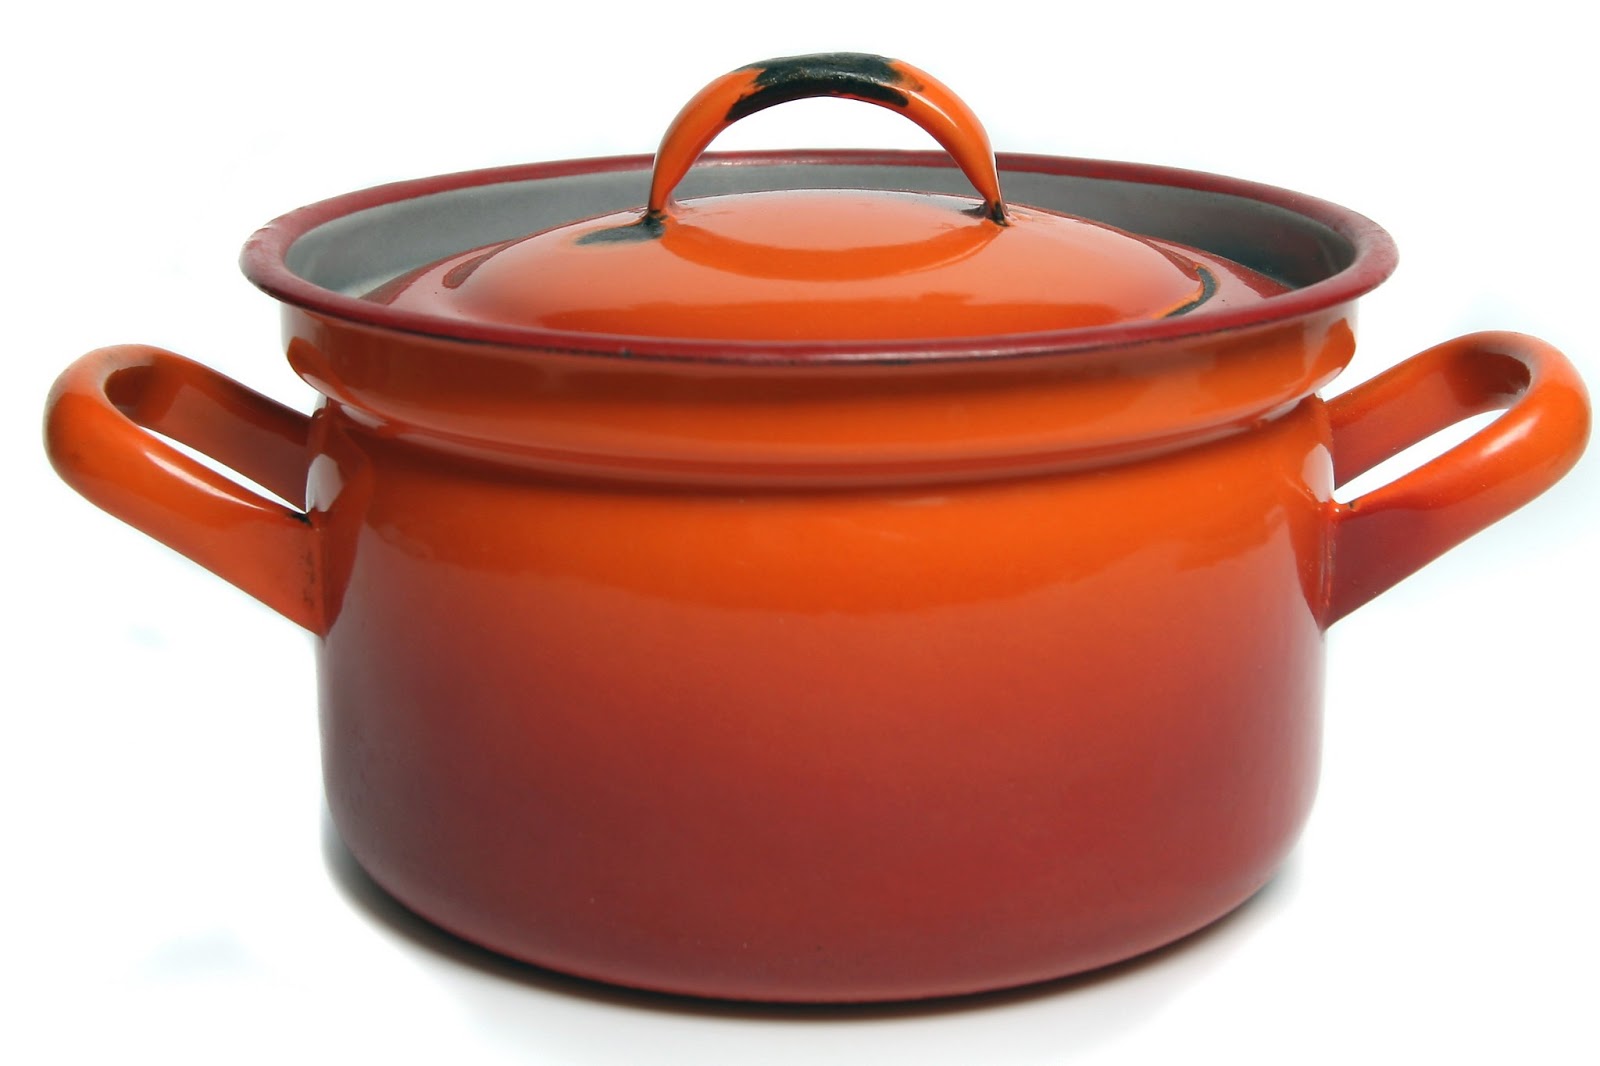
- When you get home, fill pot with water and let simmer for about 1 1/2 hours.
- Drain and rinse then let the pot cool in the fridge.
- Portion into 1-2 cup servings. Label and freeze in quart bags.
- Make sure that the beans are spread out and the bags are as flat as possible for easiest storage. This way you can stack the flat packages, instead of trying to find room for a bunch of awkwardly shaped lumpy ones.
Chili and Soups
- Freeze 1 cup amounts in small bags for individual servings, or a gallon bag for a family meal.
- Don’t overfill the bags.
- After making sure they are tightly sealed lay down flat on a baking sheet and freeze until firm. Remove from the tray and stack your flat packages!
Lasagna, Enchiladas & Casseroles
For these I buy the disposable aluminum pans with the plastic lids. I’ll make dinner for that night in my glass Pyrex dish, and assemble the extra ingredients into the aluminum one. This way I don’t have my nice baking dishes just sitting in the freezer.
If you do have several large pans you can assemble lasagna, enchiladas and certain casseroles into one, then cut and divide into individual portions. Freeze these portions on a parchment lined baking sheet until firm, then toss in a freezer bag.
- When making enchiladas for the freezer, don’t pour the sauce over them or add the cheese on top. This is best done after they’re thawed and right before you put them in the oven.
Where’s by our scones recipe